Showing posts with label Laundry. Show all posts

Sunday, December 2, 2012

Making Whites Whiter!!

I'm here today to talk laundry....AGAIN!  Why?  Because, as a mother of 4 boys, my life revolves around laundry.  My life IS laundry.  Laundry...Period.  :)

As you can see, I've been putting it off for the last few days.  Instead I've been busy painting my living room, cleaning up after painting my living room, teaching aerobics, holding cub scouts, preparing meals, changing diapers.....

Well, when my two oldest came to me complaining for lack of clothing to wear to school I realized the job could be put off no longer.

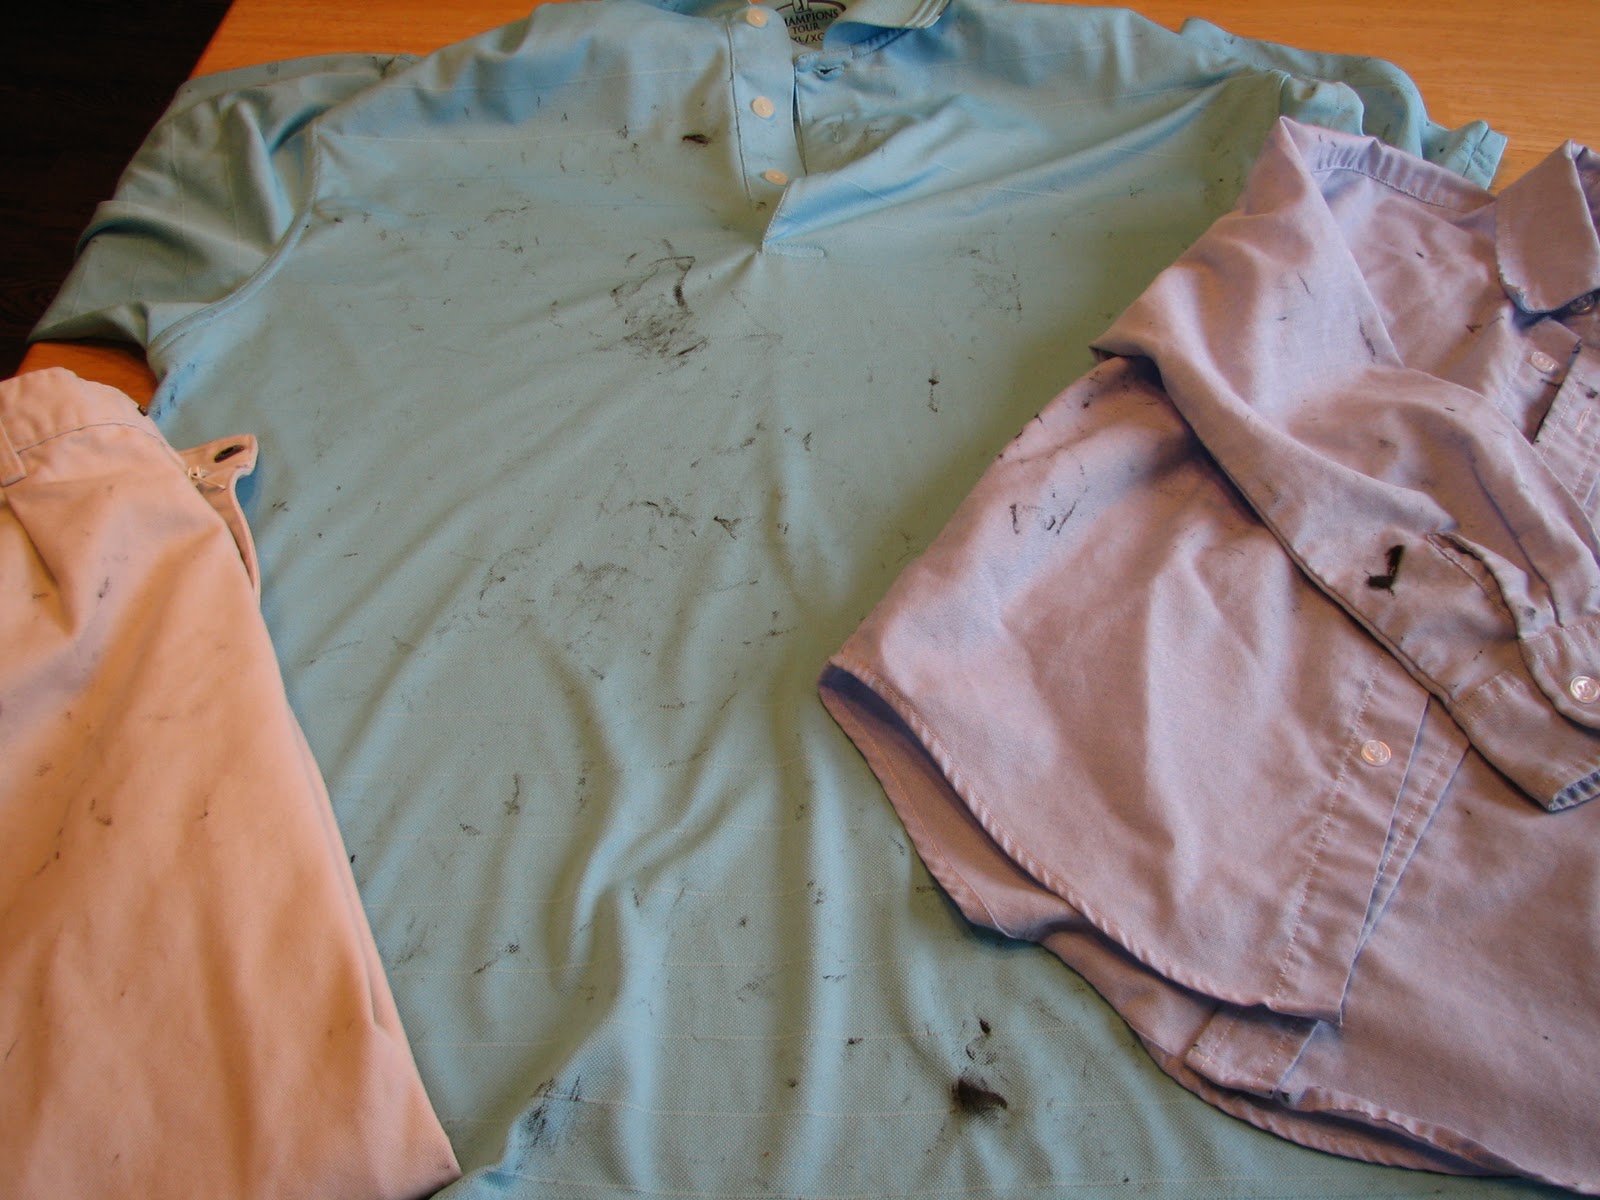
Here's what I saw after #3 gathered all of the baskets...
And these isn't even all of it.  I already had a load in the washer and the dryer.

GASP!

To make matters worse, I had just emptied my LAST cup of store bought laundry detergent into the washer.  Sigh....

Time to get back to FRUGALNESS!

Luckily I had all the ingredients on hand for my thrifty, nifty Homemade Laundry Detergent.  I tweaked it a bit this time (taking some tips from Why Not Sew).  We'll see if I like it better.

The REAL reason for my post today is because I am trying out a NEW method of making WHITES WHITER!  I found this little ditty on Pinterest (my new best friend) and am totally going to try it out.

In this house, NOTHING stays white for long.  Why should it when it can be stained with grass, dirt, and general muck, right?

Here is the "recipe":

HOT water
1 cup of laundry detergent (I'm using my homemade soap)

1 cup powdered dish washer detergent 

1 cup bleach (or color safe bleach if any color present)

1/2 cup borax

 Fill the washing machine with HOT WATER (you can even BOIL a gallon or so of water on the stove to add to the washer to make it that much hotter). Then add the "ingredients".  Agitate the machine for a few minutes (BEFORE ADDING CLOTHES) to allow dishwasher detergent to dissolve.  THEN add clothes.  Allow clothes to soak for as long as you can (overnight if possible).  Finish cycle.

Because I have some time restraints (aka a million loads to get through today) and didn't have time to allow the load to soak in the washer, I turned to the bathtub.  Yep...I said the bathtub (or a plastic tote would do).

I filled it with hot HOT water (yeah, we keep our water heater up pretty high), then added the laundry soap and bleach.

Next I filled a large pan with a gallon of water, set it on the stove to heat, and then added both the dishwasher detergent and the borax.  By the time the water reached a boil, the detergent/borax had dissolved.

I added the water/detergent/borax to the bathtub and stirred.  Now for the clothes.

(I would have taken a picture of this but I'd rather not post a pic of my unmentionables on the internet, thank you very much.) 

I let the load soak in the tub for several hours (5-6) and then transferred them, in a basket, to the washing machine. 

I ran them through a regular HOT cycle, with an extra rinse for good measure.

The end result was spectacular.

 It truly did make my "whites" whiter.

I think I will make a regular habit of this.  It's very nice to see things "glow" again.  :)

Monday, November 21, 2011

How To: Get melted crayon out of clothes

First of all...let me say that if you are searching out this topic because you have a similar problem...I am sorry.  Very sorry.

Now...where to begin. 

Well...if you recall, last week I was having a peaceful, stress-less morning until I opened up the dryer and found black crayon melted all over an entire extra large load of laundry.  JUST GREAT!

A part of me...a very LARGE part of me...wanted to just condemn the clothing and chuck 'em.  But...unfortunately, the more logical and frugal side of me won out.  I decided to try and clean them.  (Boo!)

It's not like I have all the time and money in the world.  I needed something quick and cheap but also wanted to give you, my readers, a true test of options.  So with that in mind, I tried a few different methods (adapted from Crayola.com this blog, and my own intellect), modifying them as I saw fit, and am here to give you my recommendations/solutions.

 For cleaning the dryer drum-

I put a few rags in the dryer and turned it on for a few minutes to warm the wax back up.  I then sprayed it with Pro-Tek (a non-toxic all purpose cleaner--safe for fabric) and wiped every inch of the drum clean (Crayola.com recommends using WD-40...my opinion...see below).  I then placed a few clean white rags in the drum and ran it again for a few minutes to test for cleanliness.  It worked.  Everything came out clean.  Also recommended...drying a load of dark clothing (if your crayon was dark) before anything else...."just in case".  After the rags I dried a load of old sheets and towels.  Worked for me.  Whatever you do...just make sure the drum in clean.  You don't want MORE crayon in fabric on your hands.  I'm confident that almost any cleaner would work for this step.  At least any cleaner with any sort of degreasing abilities.

For the clothes-
I tried a lot of different cleaners and methods.  Here's what I recommend.

#1 Fill washer tub with HOT water.  Add 1 to 1-1/2 cup(s) "Homemade Laundry Soap" concentrate (or whatever detergent you have on hand) and a capful of Clorox 2.  Add clothes.  Wash on REGULAR (not casual or delicate) for 3-5 minutes to distribute the soap/color safe bleach throughout.  Then stop the washer and let the clothes sit for 20-60 minutes before continuing the wash cycle.  Be sure to use the longest wash cycle your machine has (mine is called Super Plus and runs about 12 minutes long).  Rinse on WARM.

I found that by doing this I was able to eliminate at least 60 % of the stains right away.  Sweet!....the less scrubbing the better, right?

NOTE:  DO NOT PLACE CLOTHING THAT IS STILL STAINED IN THE DRYER TO DRY!!!!!!  Hang them to dry if you are not going to work on them right away.

#2 Let the scrubbing begin.
Honestly...like I said,  I tried a LOT of products. 

First, I tried this... 
Pro-Tek (a non-toxic all purpose cleaner--safe for laundry) and Clorox 2

This...
Stain Devils-for pen and crayon and Clorox 2

This...
My "homemade laundry soap" concentrate and Clorox 2
and...eventually....I did try this...for the sake of research
Crayola.com's suggested  concoction
Wanna know what worked best and was the cheapest?  The "Homemade Laundry Soap" coupled with the Clorox 2.  TRUE STORY!

The Pro-Tek and the Stain Devils (specifically made for pen and crayon) worked okay.  I had to spend just as much time scrubbing the clothing as with the laundry soap (maybe even a tad bit longer).  The WD-40....ugh!...did not work any better than anything else I tried.  I was very hesitant to use it (even though it came recommended by several different sources) but did so anyway...for the sake of research.  It added another step to the whole spray and scrub process because after using it you then have to scrub the WD-40 OUT of the fabric with dish soap.  And what did I end up with?  More stains...from the oily lubricant.  So...I can easily say that I personally would not recommend using WD-40.  It was, by far, the most expensive, as well as the most labor intensive process I tried.  That's my take.  Do with it what you will.

So here's what I suggest for remaining stains (after laundering as instructed above):

Take a small amount of  "Homemade Laundry Soap" concentrate and work it into the fabric using your knuckles, fingernails, a soft scrub brush (not a stiff one...I tried it...not so good on the fabric), or by rubbing the fabric together.  Continue scrubbing until stain is completely gone or significantly lighter.

Re-launder according to directions above. 

If stains remain (I only had two shirts that didn't come completely clean and the stains were very very light)....REMEMBER NOT TO DRY CLOTHES IN THE DRYER...and repeat scrubbing and laundering instructions above until clean.

Remember this light blue shirt that was BY FAR the worst of the bunch and I was ready to just throw away?


PRE-WASH

POST LAUNDERING--PRE-SCRUBBING

WELL...look at it now.

POST LAUNDERING-POST SCRUBBING-POST SECOND LAUNDERING
TA-DA!

There are still a few very faint stains.  I will probably have to put it through the scrub/laundering process one more time before it is fit to wear but a VAST improvement I must say.  

It was Roberto's favorite work shirt.  He almost cried when he first saw it (he he he) but now he is just as hopeful as I am that he will be able to wear it again very soon.  

I hope this helps...and please take the advise given me by my mother.  Work on it slowly...one thing at a time...maybe only one article a day.  Don't let it overwhelm you.  All is not lost.

Happy Laundering y'all!

Monday, November 7, 2011

How To: Homemade Laundry Soap

I was first introduced to the idea of Homemade Laundry Soap quite a while back by my friend Sheena.  I was thoroughly intrigued but didn't do anything about it at the time.

Then, last week, I noticed that I was just about out of liquid laundry detergent...and try as I might, could not find any on sale for a price I was willing to pay (oh, I miss the days before the economy tanked that I used to get this for free with coupons....all of the time).  So...I thought...what the heck...let's try homemade.

So....I did.

It was SUPER CHEAP (about $1.59 for a 5 gallon bucket's worth--look for price breakdown below) and SUPER EASY to make (only took 25 minutes....start to finish). 

Homemade Liquid Laundry Soap
4 cups water
1 bar Fels-Naptha soap 

(found in the laundry isle)
--or you can use any soap and/or soap scraps
1 cup A&H Super Washing Soda
1/2 cup Borax

Yield: 5 gallons (concentrate)

7-10 gallons (diluted)


Grate bar of soap.  Place in a saucepan with water. 
Melt on medium-low heat (don't boil it), stirring continually, until all soap is liquified.
Fill a 5 gallon bucket half full with HOT tap water.  Add melted soap, soda, and Borax.  Stir well until all powder is dissolved.


  Finish filling the bucket with hot water.  Stir, cover, and leave overnight (giving it a chance to thicken). 

Here's what it should look like after it's sat for a while.
(like a lemon ice slushy)

Now...this 5 gallon bucket is the concentrated version (pre-treat stains with it).

The original "recipe" calls for 50/50 dilution with water, but my friend recommends using it in it's concentrated form (after trying it diluted for several months)...so you can decide what works best for you.  

Here's what I did.

I filled a container (can use an old but clean, empty laundry soap container...mine wasn't quite empty yet so I used an alternate) and filled it 3/4 full with the concentrate (see that compromise?) and the rest of the way with water.   


Shake container before each use.

You can also add your favorite scent of essential oil for a "custom" smell.  Just a few drops in your smaller container (it will be wasted in the 5 gallon bucket because the smell will dissipate over time).  

But...the essential oils are not "essential" (ha ha ha).  The Fels-Naptha has a nice lemon-y smell on it's own.  But...go ahead and play with it...it's your soap.   

This is a low sudsing detergent.


For front loading machines (yes, it is good for front loaders) use about 1/2 cup detergent.


For top loading, 3/4 to 1 cup

Try supplementing with 1 cup vinegar which has the power to naturally disinfect and soften the fabric.  (I'm definitely going to remember to do this when I do my MANY loads of "soiled" sheets.....**sigh**...boys).  (Thanks for the tip livingrichwithcoupons).

Either way...whether you dilute it or not, it is going to save you a LOT of money. 

Price breakdown
(as of Saturday at my local Walmart)

Water 
(free...he he he)

Fels-Naptha $.97 
(1 bar per recipe)

Arm & Hammer Soda $3.24
(abt 7 recipes @ 1 cup...$.46 per recipe)
Borax $2.98
(abt 18 recipes @ 1/2 cup...$.16 per recipe)
 
Total:  $7.19
or $1.59 per 5 gallon bucket

I'll let you know how it works.  

I've got more laundry tips coming.  So keep you eye out.